Hyperledger Developer Tutorial
Hyperledger Composer 개발 환경 셋업이 끝난 후 간단한 튜토리얼을 진행해 보았다.
Table of Contents
Prerequisites
이 튜토리얼은 개발 환경 설치가 완료된 후 진행하였으며, 에디터는 VSCode를 사용했다.
Skeleton Business Network 생성
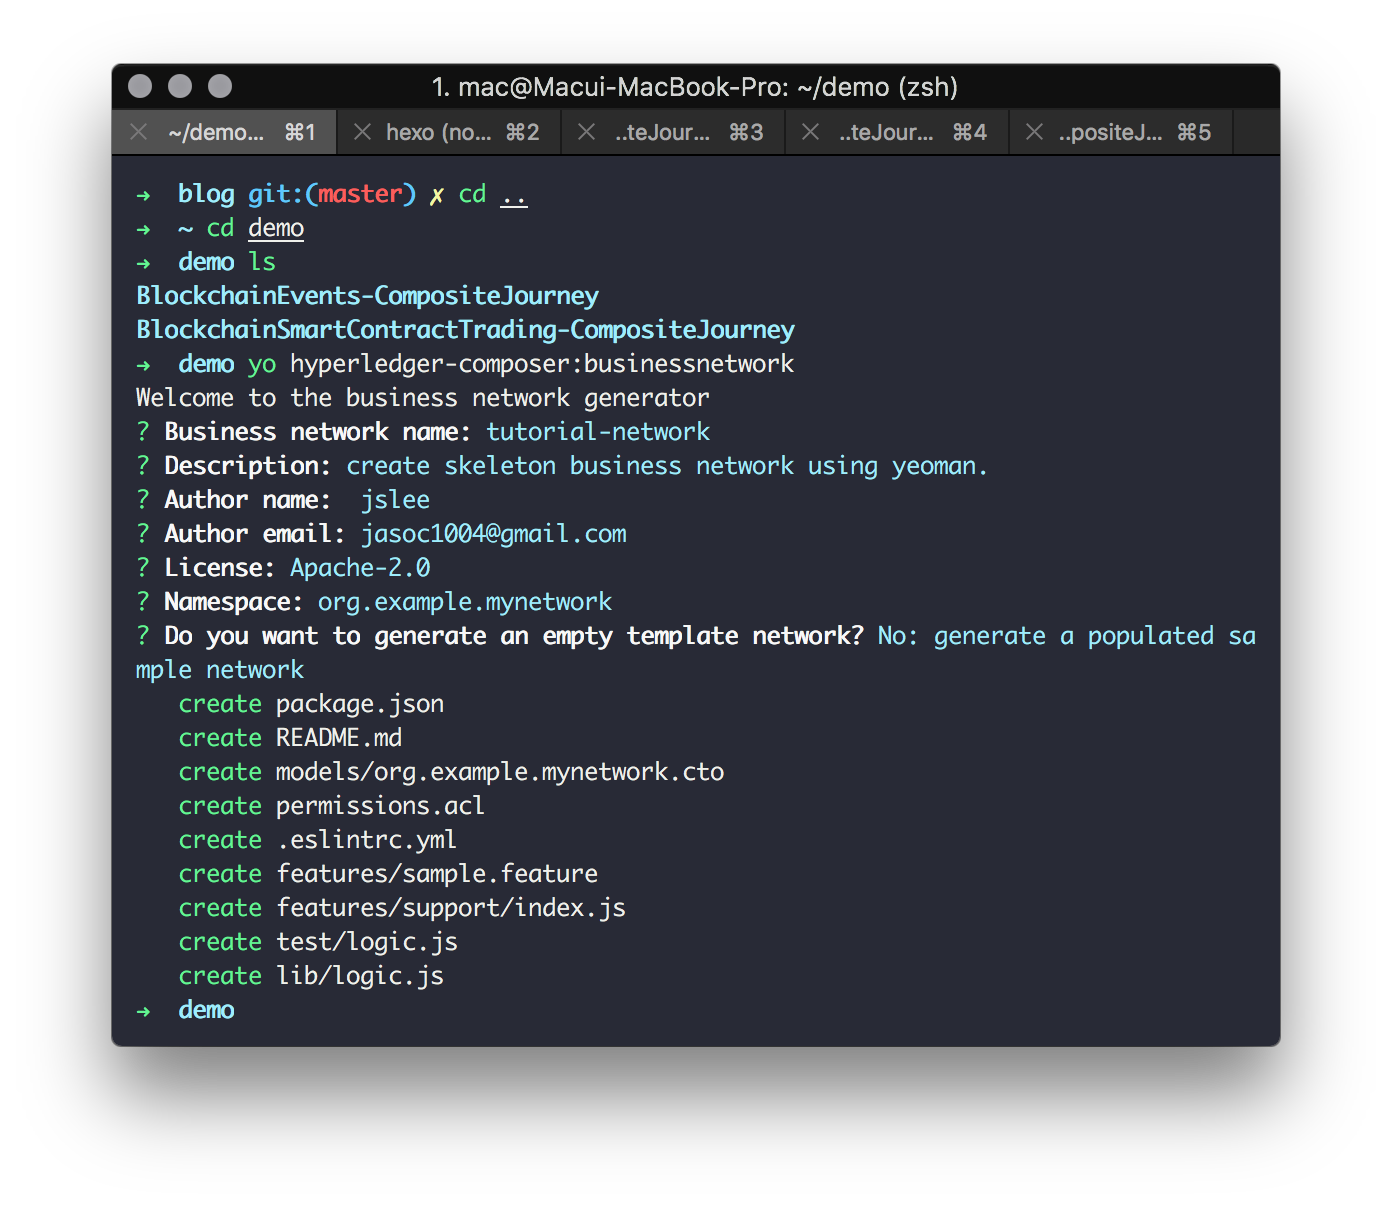
앞서 설치한 Yeoman generator를 이용해 스켈레톤 비즈니스 네트워크를 생성한다. Yeoman을 이용하면 비즈니스 네트워크에 필요한 컴포넌트들을 포함한 디렉토리를 생성해준다.
1 | $ yo hyperledger-composer:businessnetwork |
비즈니스 네트워크 정의
위에서 생성한 스켈레톤 비즈니스 네트워크는 다음의 파일들로 구성된다.
- 모델(
.cto) - 자산(assets), 참가자(participants), 트랜잭션(transactions)에 대한 클래스 정의 - 스크립트(
logic.js) - 트랜잭션 프로세서 function - 엑세스컨트롤(
permissions.acl) - 권한 제어 규칙 - JSON(
package.json) - 비즈니스 네트워크 메타데이터
모델 파일 수정
assets, participants, transactions의 클래스 정의를 위해 모델 파일을 아래와 같이 수정한다.
1 | /** |
트랜잭션 로직 스크립트 수정
3-1에서 정의한 Trade 트랜잭션이 실행할 자바스크립트 로직을 로직 스크립트에 추가한다.
1 | /** |
access control 규칙 수정
1 | /** |
아카이브 생성
정의된 비즈니스 네트워크를 배포하기 위해서는 비즈니스 네트워크 아카이브(.bna)파일로 패키지화 되어야 한다.
tutorial-network 디렉토리로 이동한 후 아래 명령어를 수행한다.
1 | composer archive create -t dir -n . |
커맨드가 실행되면 디렉토리 내에 `tutorial-network@0.0.1.bna` 와 같이 아카이브 파일이 생성된다.
비즈니스 네트워크 배포
생성된 .bna 파일은 composer network install명령을 통해 Hyperledger Fabric 인스턴스에 배포할 수 있다.
이 명령을 사용하려면 PeerAdmin 비즈니스 네트워크 카드가 필요하지만 개발 환경 설치 과정에서 이미 생성된 것이 있다.
비즈니스 네트워크 설치를 위해
tutorial-network로 이동해서 아래 명령을 실행한다.1
composer network install --card PeerAdmin@hlfv1 --archiveFile tutorial-network@0.0.1.bna
composer network install명령을 사용하려면 PeerAdmin 비즈니스 네트워크 카드, 비즈니스 네트워크가 정의된.bna파일의 경로가 필요하다.
설치한 컴포저 네트워크는
composer network start명령을 통해 실행할 수 있다.1
composer network start --networkName tutorial-network --networkVersion 0.0.1 --networkAdmin admin --networkAdminEnrollSecret adminpw --card PeerAdmin@hlfv1 --file networkadmin.card
사용 가능한 비즈니스 네트워크 카드로 네트워크 관리자 ID를 가져오려면
composer network start명령에서 지정한 파일명을 이용해 다음 명령을 실행하면 된다.1
composer card import --file networkadmin.card
아래 명령을 입력하면 비즈니스 네트워크가 성공적으로 배포되었는지 확인할 수 있다.
1
composer network ping --card admin@tutorial-network
REST 서버 생성
Hyperledger Composer는 배포된 비즈니스 네트워크 기반의 REST API 서버를 생성 할 수 있다.
tutorial-network 디렉토리로 이동 후 composer-rest-server 명령을 입력한 후 REST API 생성 방법을 설정한다.
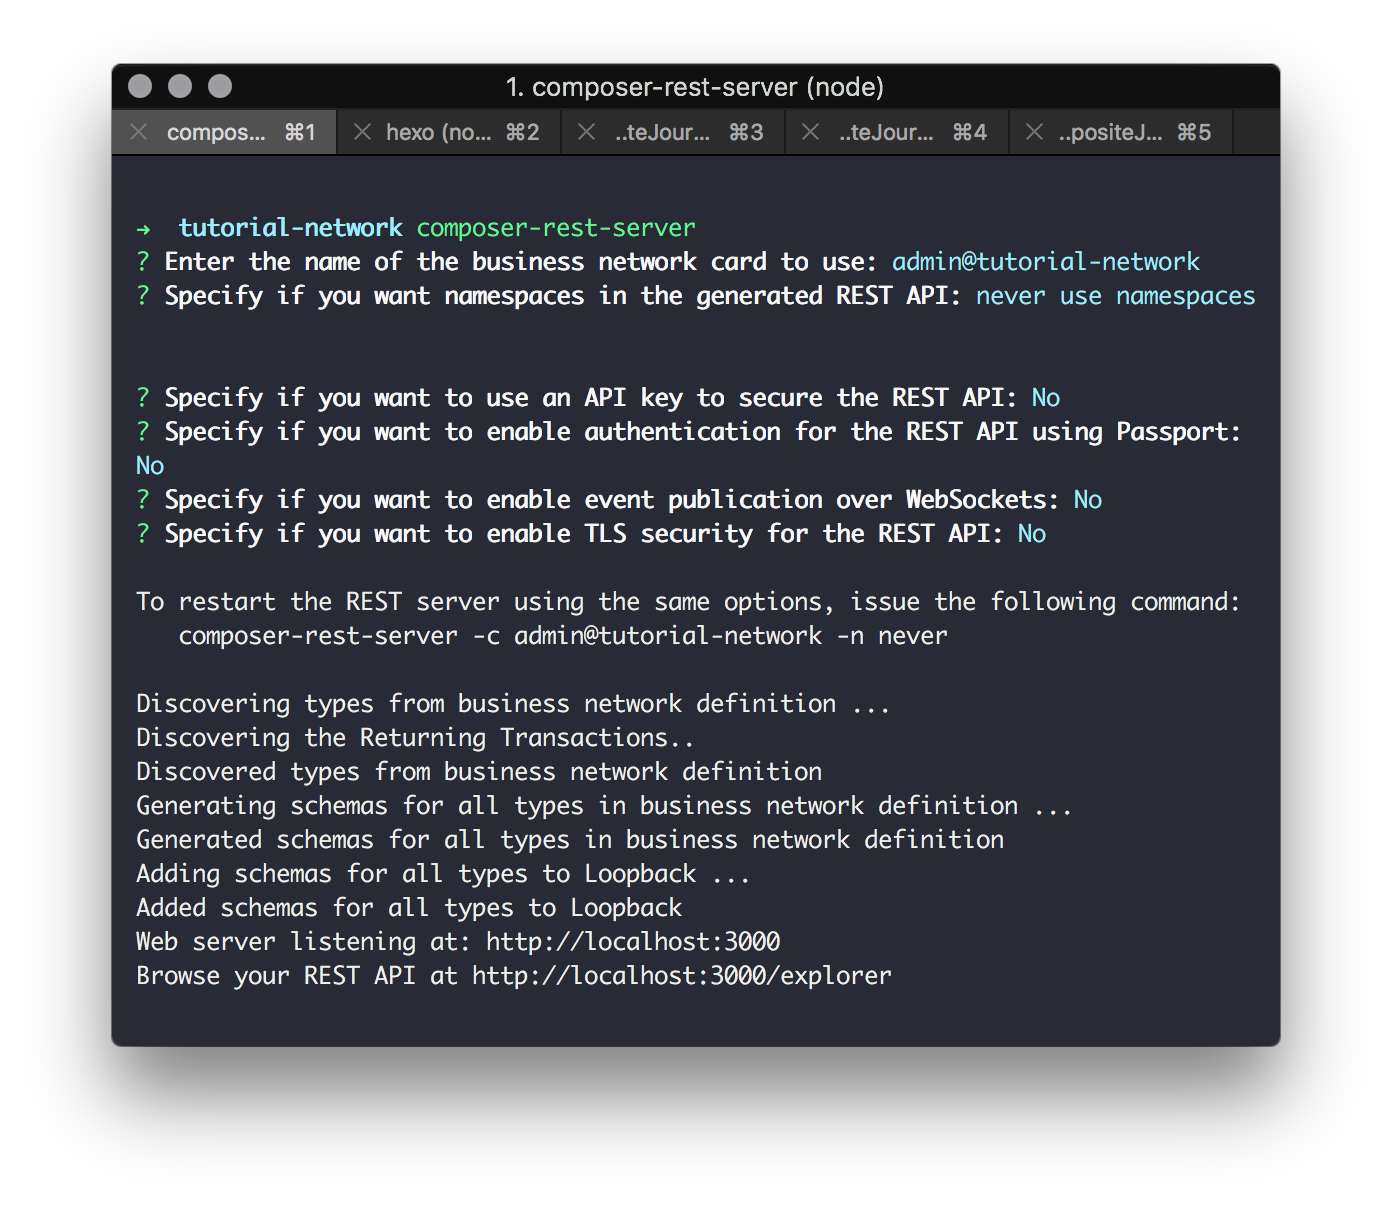
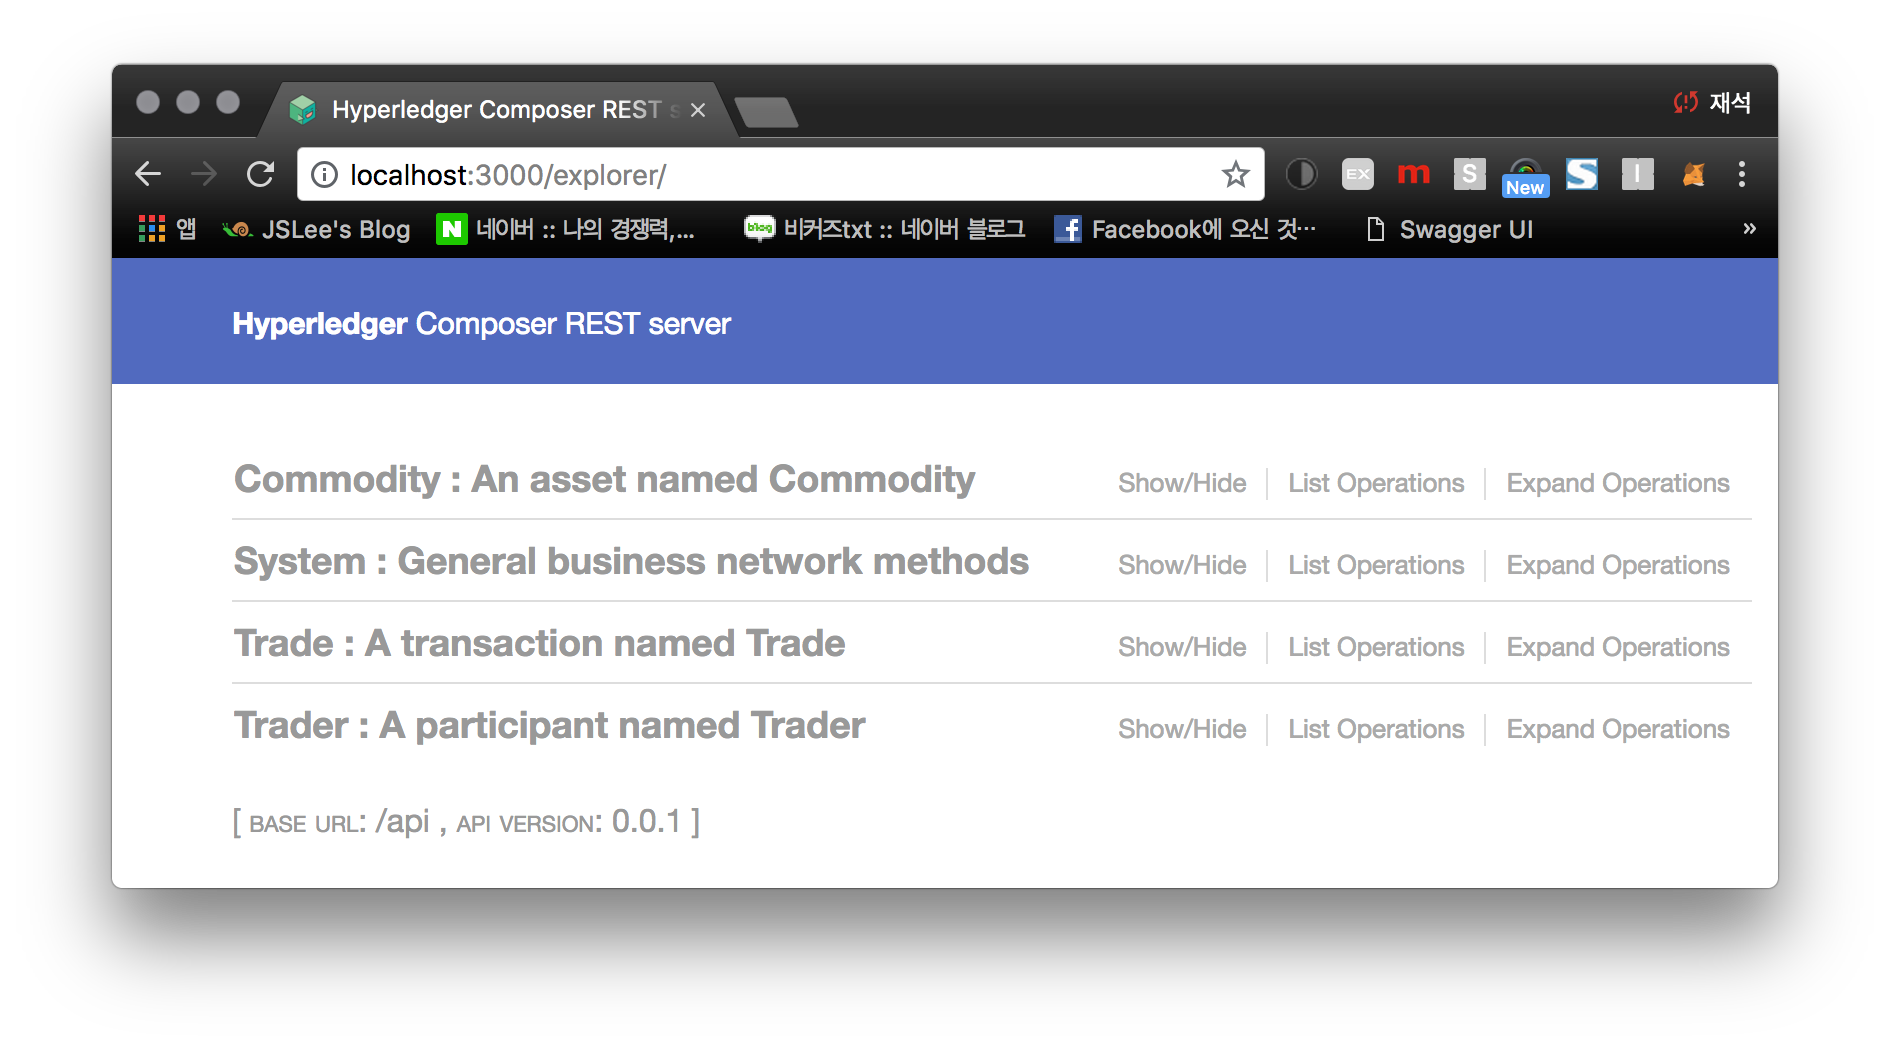
composer-rest-server가 성공적으로 시작되었다면 http://localhost:3000/explorer 로 이동하면 아래와 같은 웹브라우저 화면을 볼 수 있다.
어플리케이션 생성
Hyperledger Composer는 REST API를 이용하는 Angular 어플리케이션 생성도 가능하다.
tutorial-network 디렉토리에서 yo hyperledger-composer:angular 명령어를 실행하면 된다.
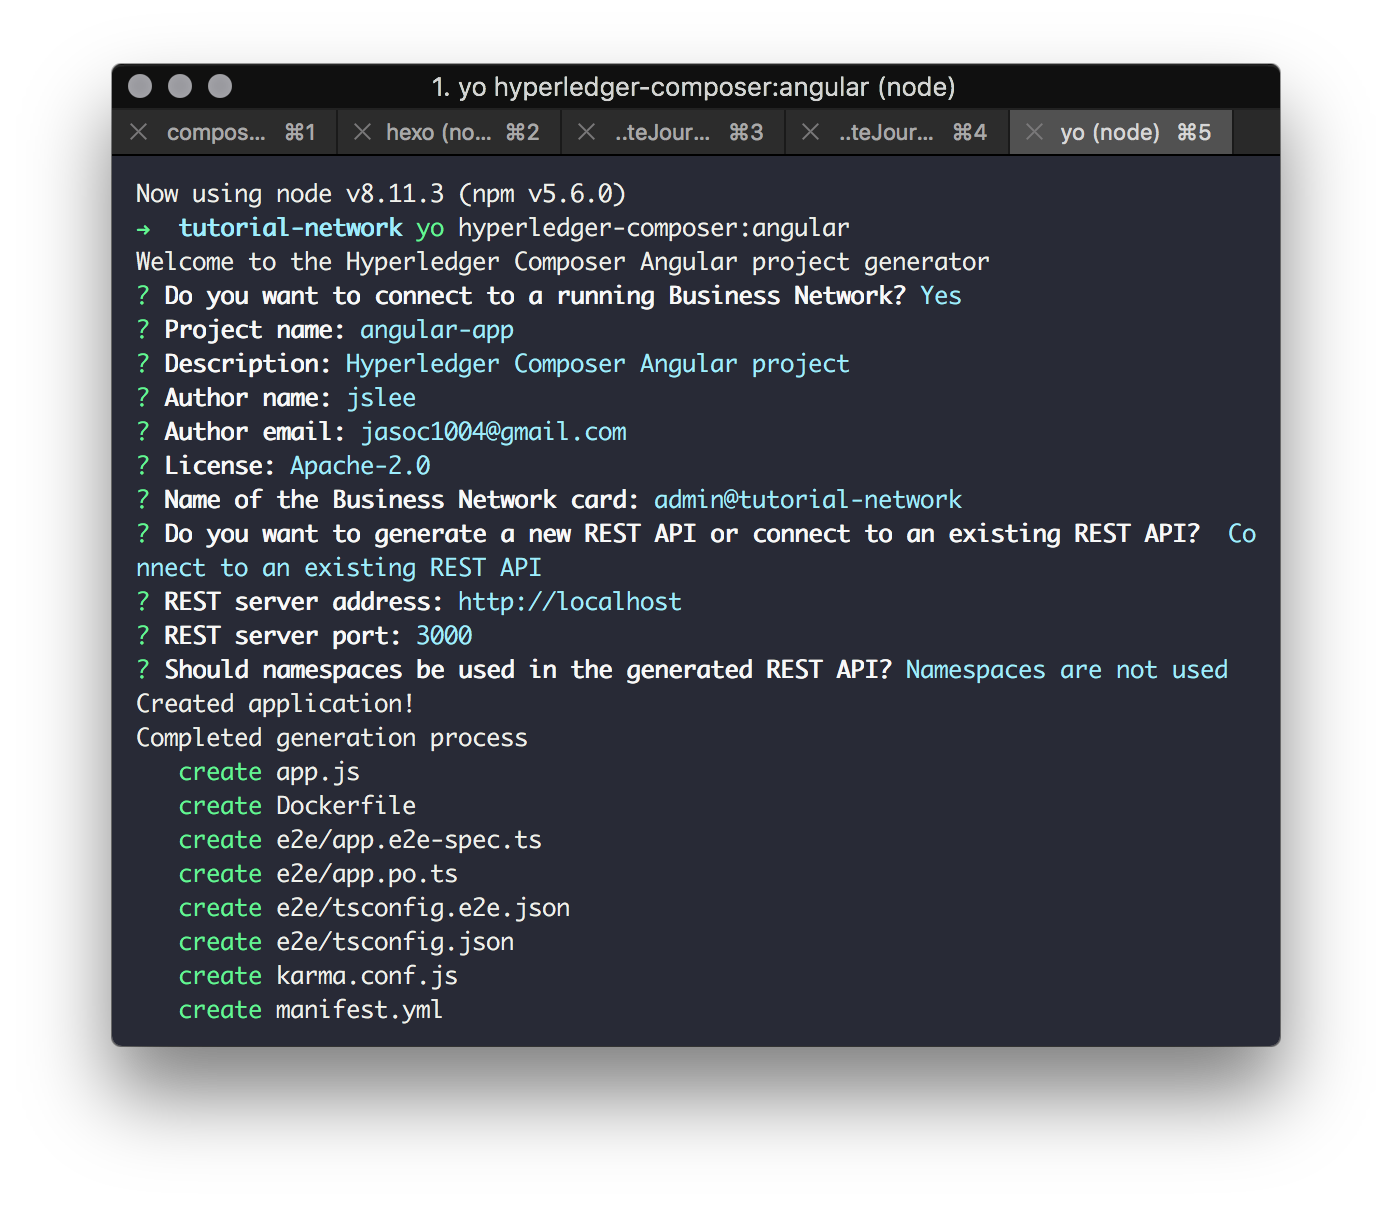
어플리케이션 생성이 성공적으로 완료되면 아래와 같은 메시지를 볼 수 있다.
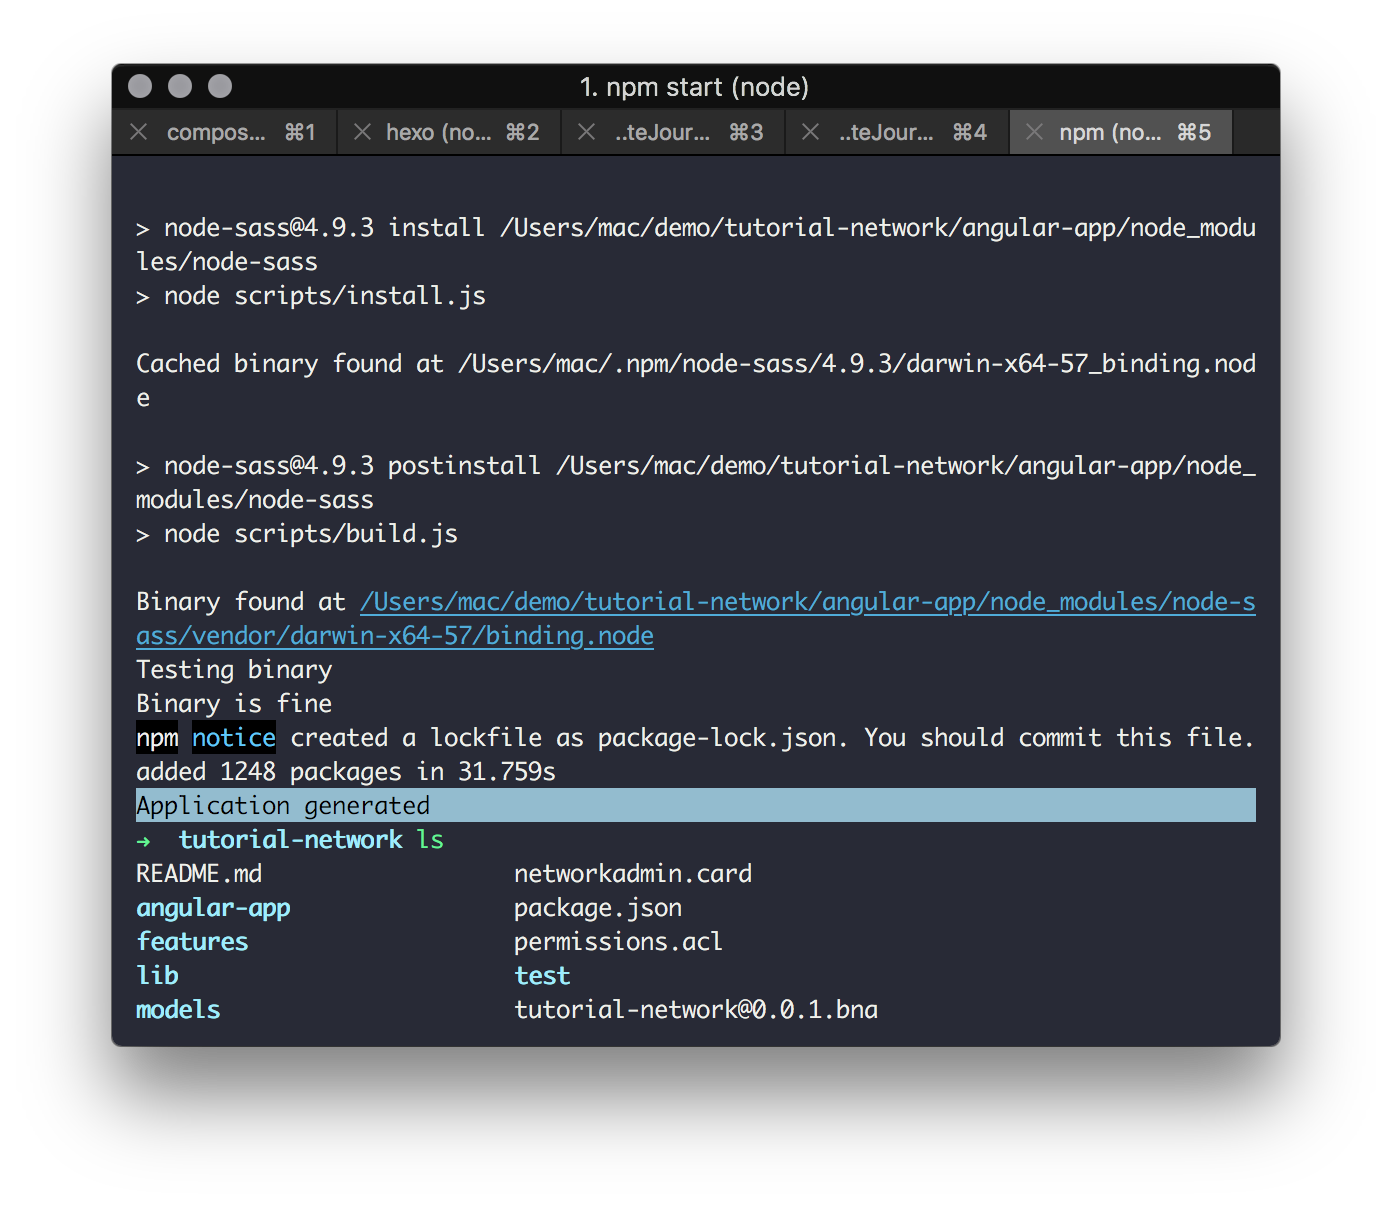
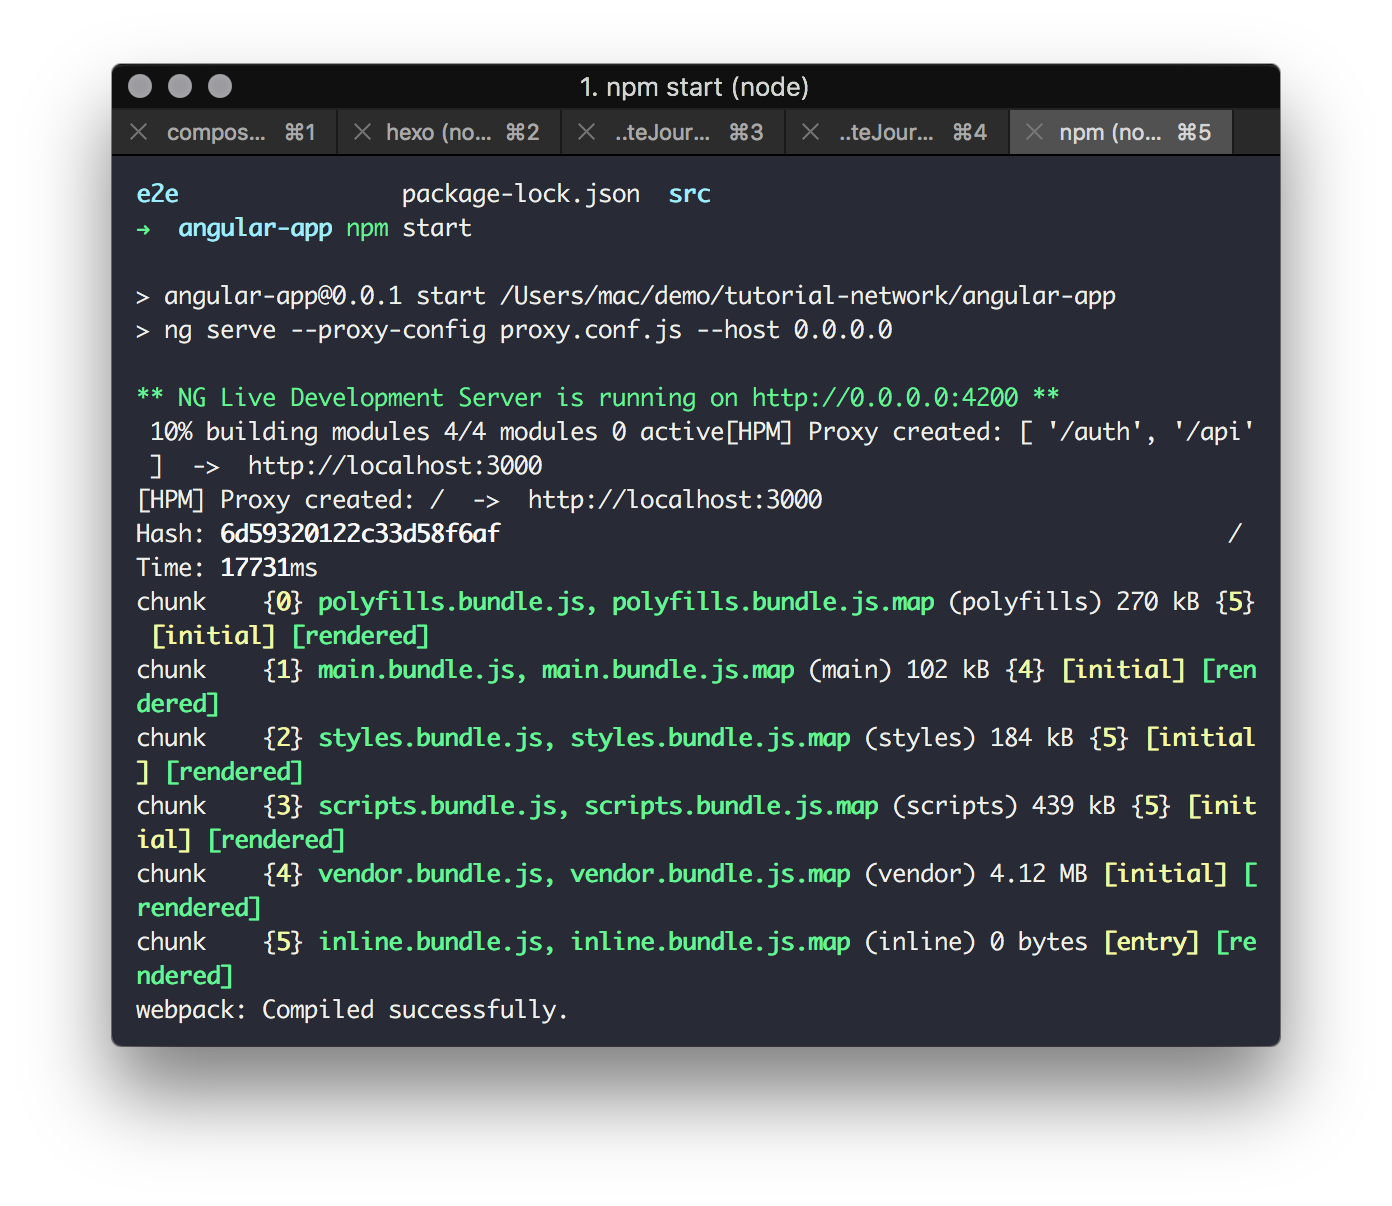
npm install 후 npm start를 실행하면 어플리케이션이 실행된다.
npm start 명령은 해당 어플리케이션의 package.json의 scripts에 있는 start 명령어를 실행한다.
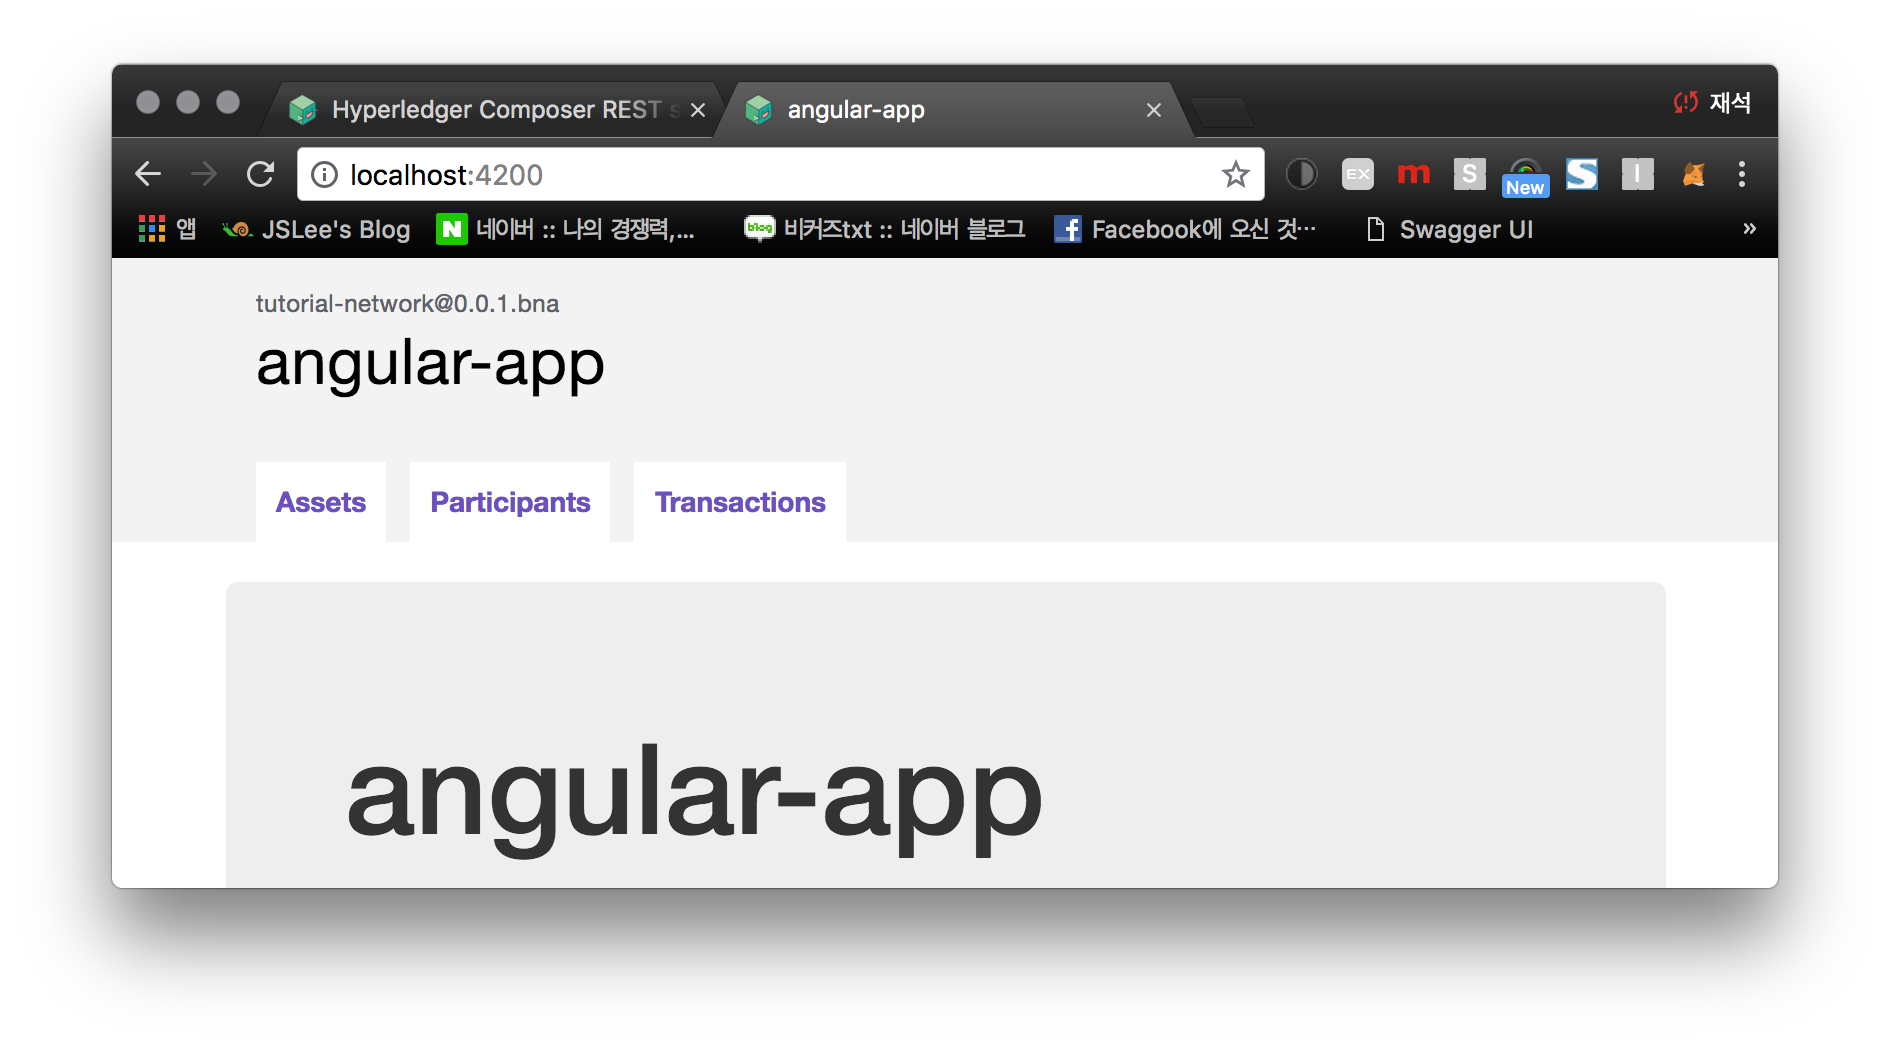
웹브라우저를 통해 http://localhost:4200 로 이동하면 어플리케이션이 생성 된 것을 볼 수 있다.